

You don’t always have to buy someone else’s art to beautify your home. You can use your own! If you have any photos that you absolutely love. It’s easy to turn them into art when you have all the right tools. Whether it’s a landscape photo from your last vacation (so 2019) or a snap from your latest bird-watching adventure from quarantine. You can transform that picture into a work of art that everyone will covet!
Ready to learn more about turning photo prints into art? Follow this guide to learn how to pick the right picture. Also how to edit your photo, and how to print and frame it.
Pick the Right Picture

First things first. You have to pick the right picture for your art. Not every photo is usable from a technical perspective. The most important thing is finding a high-quality photo with great resolution. Whether your photo was taken with a phone or a digital camera. You should aim for different specifications depending on the size you want for your print.
| Size | Minimum Resolution | Best Option |
| 4 x 6 Inches | 600 x 900 | 1200 x 1800 |
| 5 x 7 Inches | 750 x 1050 | 1500 x 2100 |
| 8 x 10 Inches | 1200 x 1500 | 2400 x 3000 |
| 16 x 20 Inches | 1440 x 2160 | 4000 x 6000 |
| 20 x 24 Inches | 1800 x 2160 | 5000 x 6000 |
If the photo you want to use is on your phone. You can check the size, dimensions, and resolution by swiping up on the image in Android or opening the image in the iOS Files application for Apple.
Many phones today are capable of taking photos up to 16 megapixels. So transforming a photo from your phone into wall art shouldn’t be a problem unless you’re using a device from the early aughts.
One quick tip to help you figure out if the image is usable is transferring it to an editing app and enlarging it to fit a much larger canvas.
If your image starts to blur and fuzz, it probably won’t produce a good photo print in anything larger than standard letter sizing.
Edit Your Photo

It’s pretty rare for the photo you take at the moment to be absolutely perfect. There’s always a way that you can enhance the colors, change the lighting, or crop the image to really maximize the effect of the image.
Editing your photo with professional software is one way to fix up your shot, but you can also do minimal editing on your phone as well. Simply click “edit image” on your phone to adjust the photo, overlay filters, play with lighting, and much more.
Many phones also offer an auto-editing feature that chooses the best changes for your photo at the touch of a button. These options might include Dynamic, Enhance, Black & White Portrait, and Color Pop. They’ll auto-adjust lighting, colors, and more!
Use an App
If you’re not an experienced photo editor and you’ve never used PhotoShop before, there are a number of apps that make it easy to edit your photo beyond the basics provided by your phone.
They can even completely change the look of your photo into something different. You can find apps that make your photo look like a watercolor painting or oil painting. Some apps simply add brushstrokes to create the feel of a handmade work of art.
Convert your photo into an Andy Warhol pop art style piece or make it look like it was painted by Van Gogh!
You can browse your app store to find which ones offer free editing and which ones require a subscription.
Print Your Photo
You might think the hard part is over once you’ve finished editing your photo. But printing the picture can be the most difficult decision. Depending on the style of your home, your personal aesthetic, and the edits you’ve made to the photo, you have a ton of printing options to consider.
Print on Wood
Printing on a wooden plaque or board adds a whole new dimension and layer to your photo print. The color and grain of the wood often shine through the print and enhances the photo.
Wood prints can imbue your image with a little rustic charm. It is especially appropriate for romantic photos as well as images in nature. A close-up shot of your wedding or the sunset fading behind your favorite tree is great candidate for wood prints.
Print on Canvas
If you’ve transformed your image into a watercolor or oil painting, then canvas fabric stretched on a frame is the perfect material for your print.
The masters painted directly on canvas, and now you can print your image onto the same material! Canvas prints are typically about an inch thick and add a more substantial feel to your wall art than simple photo paper.
You can print and frame at the same time with the help of your local 1-hour photo shop or screen print in higher quality and with more customization options at a professional print store.
Print on Paper
Printing on paper, as a poster, is a perfectly valid choice for turning your photo prints into art, and there are plenty of different options to choose from.
There are matte papers and glossy papers as well as textured papers that imbue the final image with a cloth-like look.
Even the weight of the paper is important because you don’t want to print on a flimsy piece that allows the colors to bleed. The most popular papers for wall art include smooth cardstock and heavyweight photo paper. Ordering paper samples can help you decide which type of paper is best for your print.
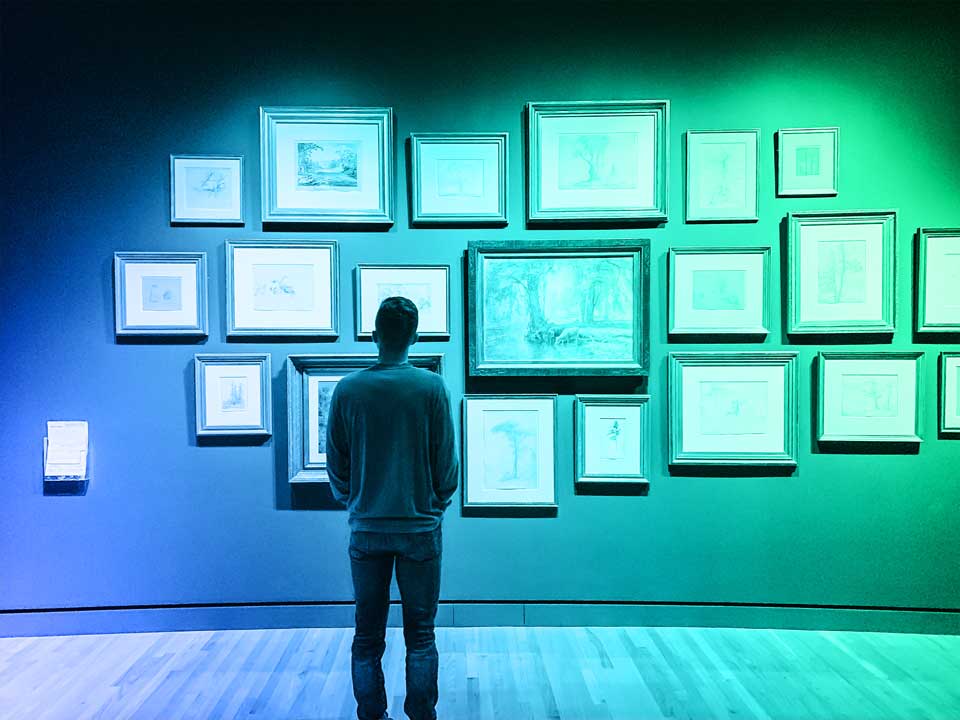
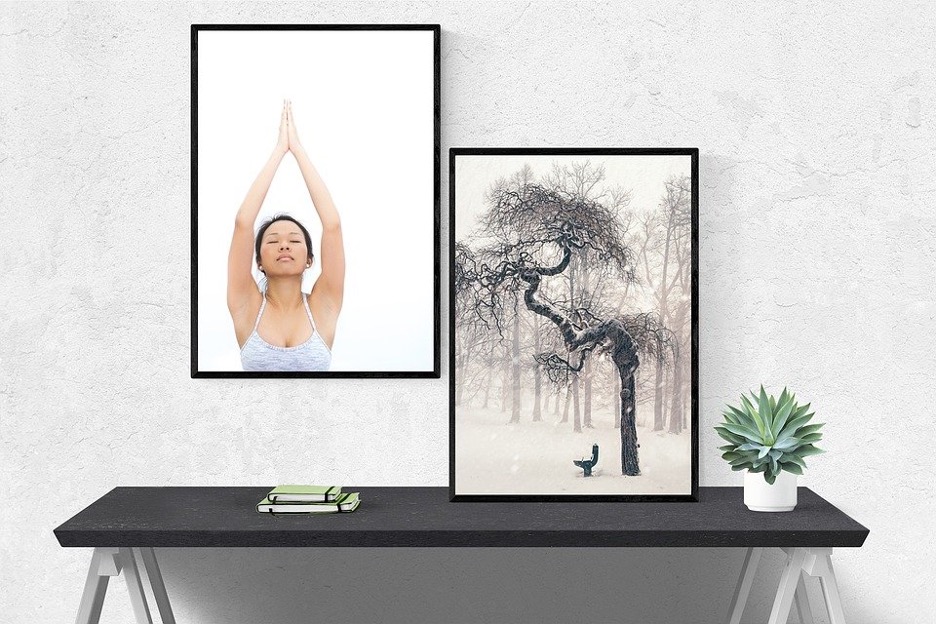
Frame It

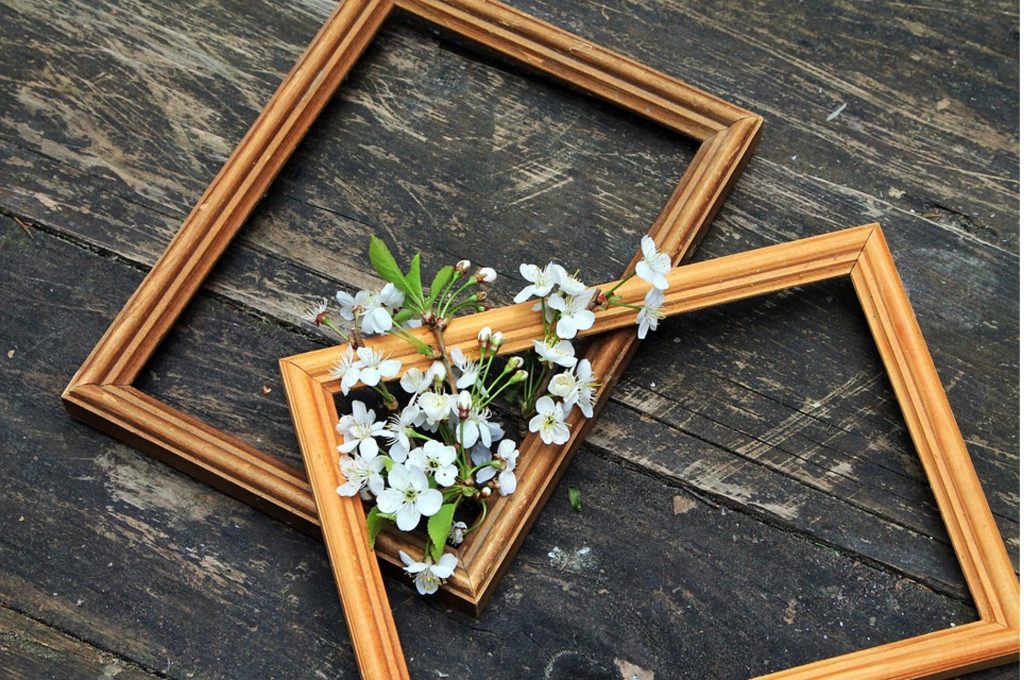
While wood prints aren’t usually framed, you can still mount them on a backboard to add interest, color, and perspective. Canvas prints can be custom framed to perfectly fit into your space or left naked to maximize a minimalist aesthetic. A print on photo paper is usually the most versatile option and can be placed in anything from a shadow box to a floating frame.
Choosing the right frame for your art can be a complex process that depends on the colors in the piece, the art’s medium, and whether you want to cover the art with glass or not.
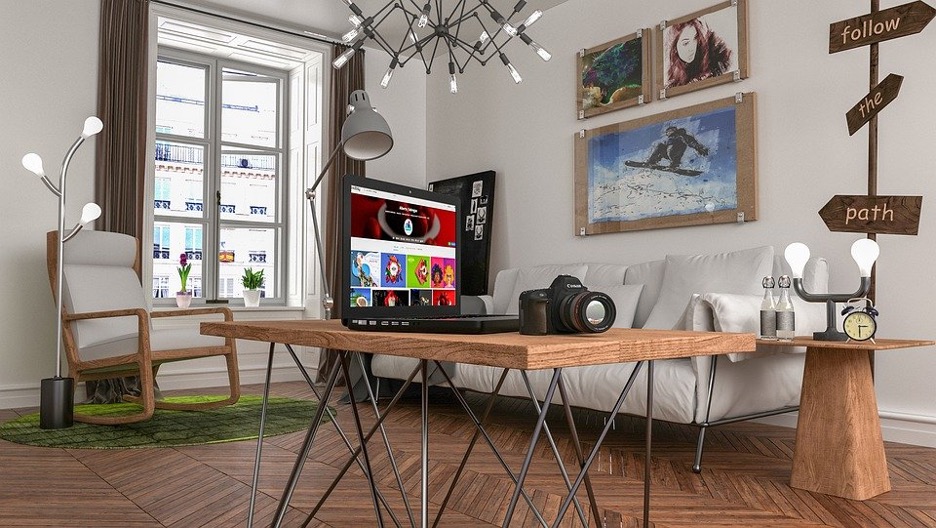
Hang It
You can’t just throw a piece of art up on a wall and expect it to look right wherever you put it! There has to be a little thought and consideration of the piece itself as well as the most appropriate space for it.
You might already have a vision in your mind of the best place for your photo print. But does the spot have enough space for the framed or unframed piece? Will it be in direct sunlight that could degrade the colors over time? Is it hidden in a nook nobody ever sees?
Carefully measure the space and make sure it shows off your photo to its best effect. Then, double-check the hanging requirements for the canvas, wood, or frame. Once you know how many nails you need and where they should be placed, measure again and leave light marks to guide you. There’s no point in printing the most beautiful photo you’ve ever taken and then hanging it crookedly!
Time to Get Started
With these basic guidelines, you can convert photos into art quickly and easily. Whether you choose to work with a print and framing shop or do it all yourself, these tools will help you create high-quality, powerful art! Get started today and fill your home with all your favorite photos!
Byline:
Katie Tejada is an artist, freelance writer, and content strategist. She has a passion for painting and often writes about art and artists. She also enjoys covering the fashion industry and the world of fitness.